
|
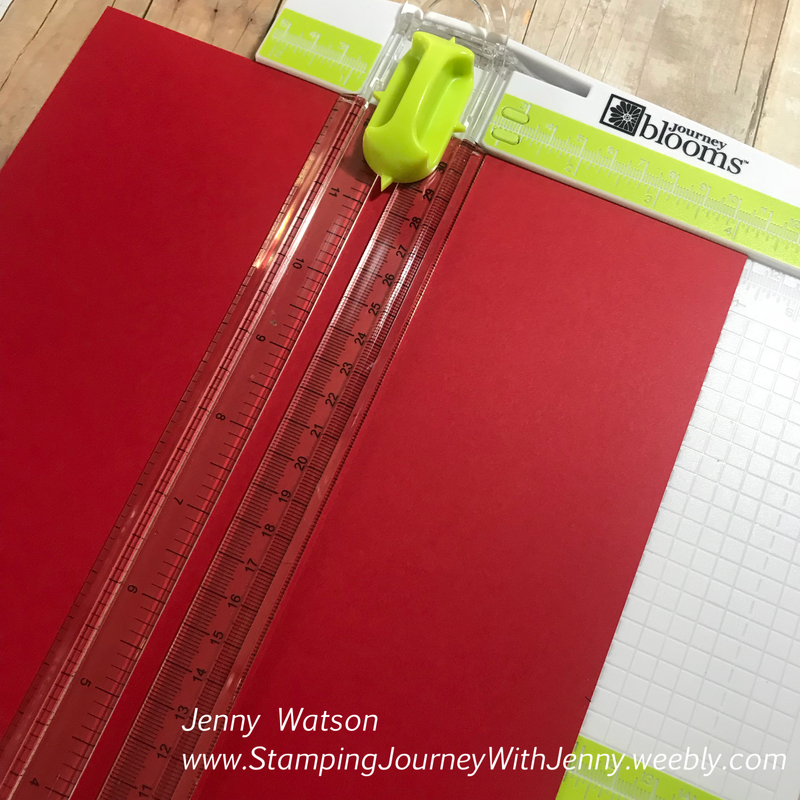
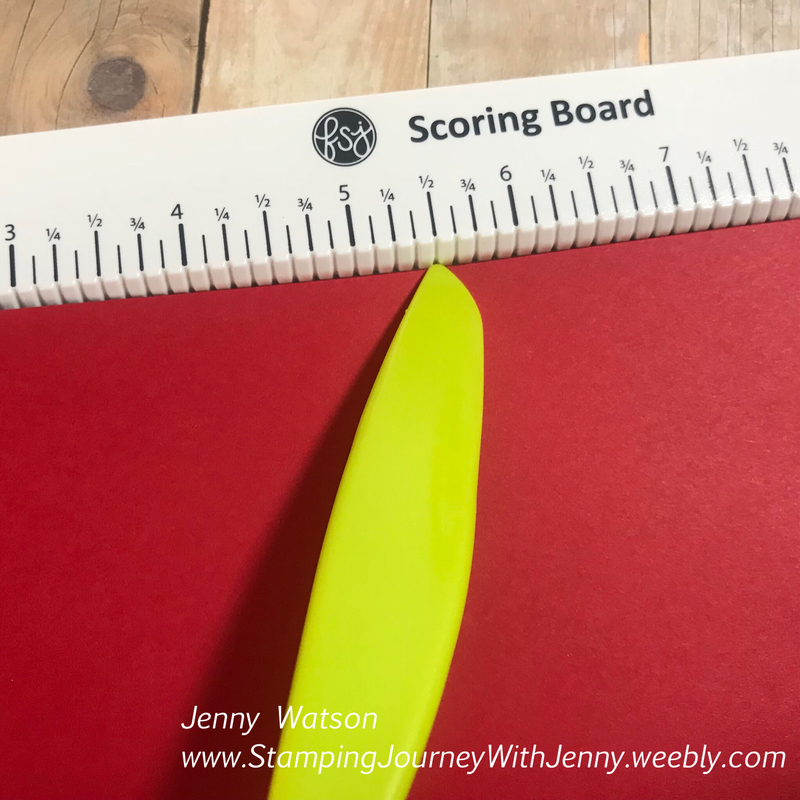
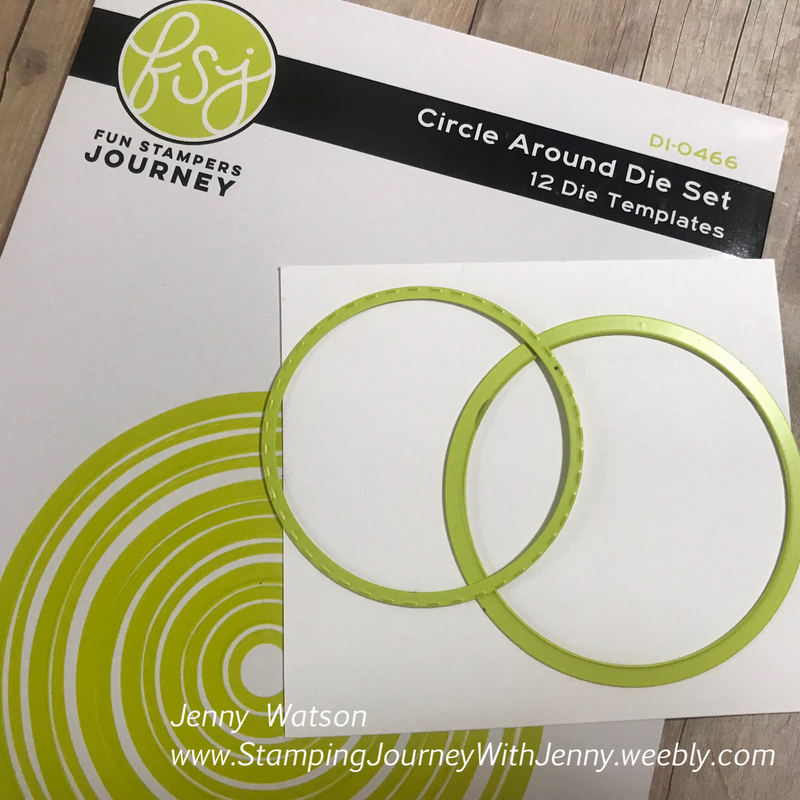
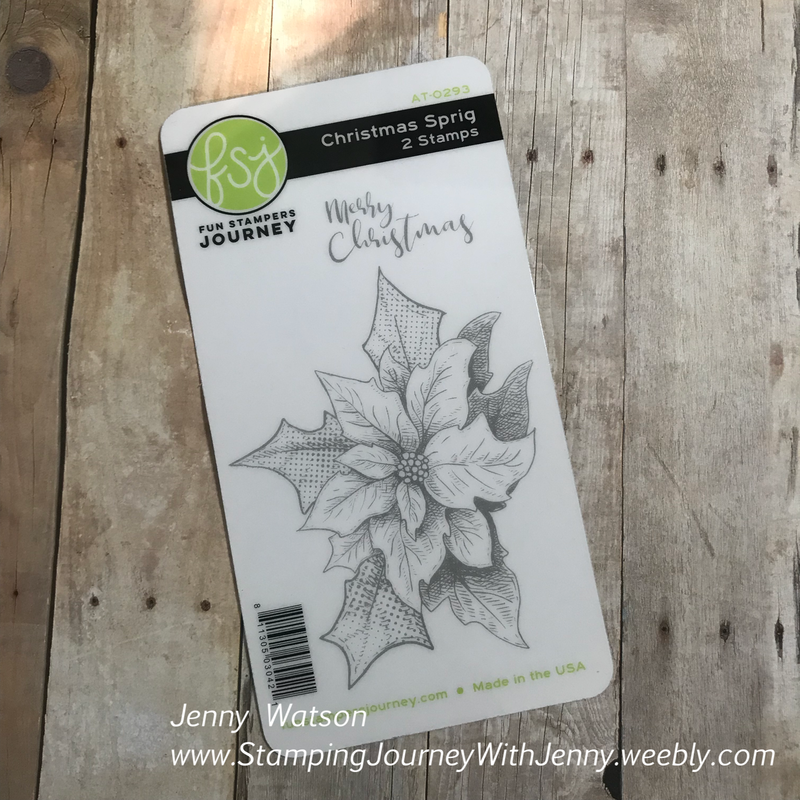
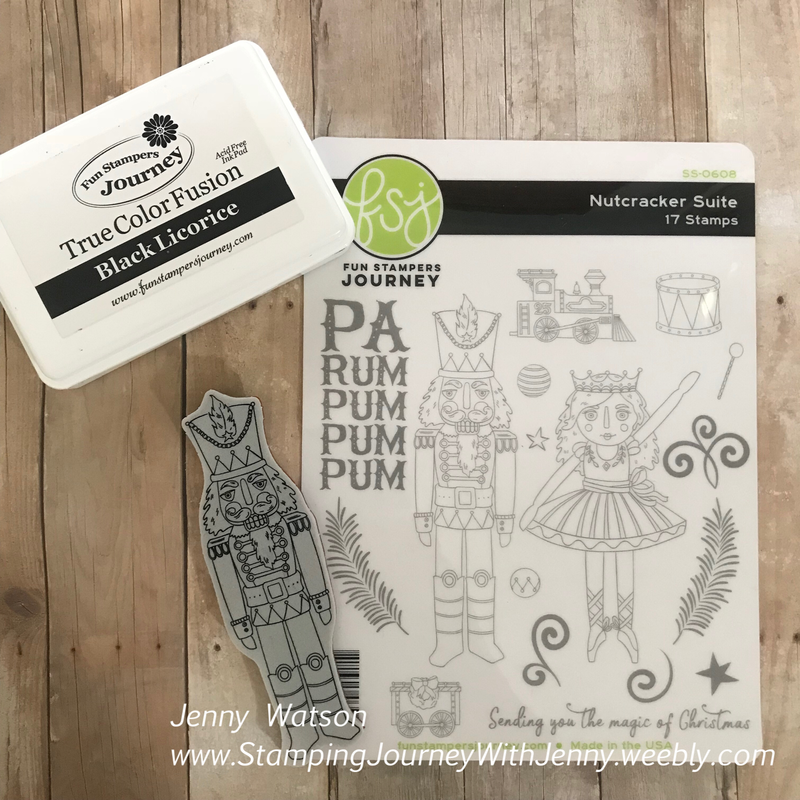
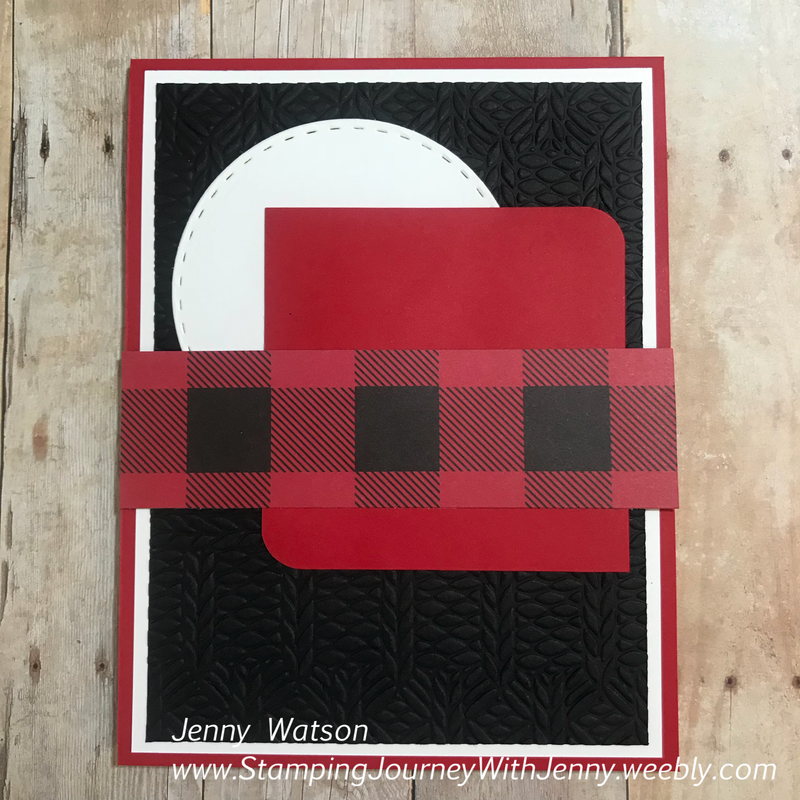
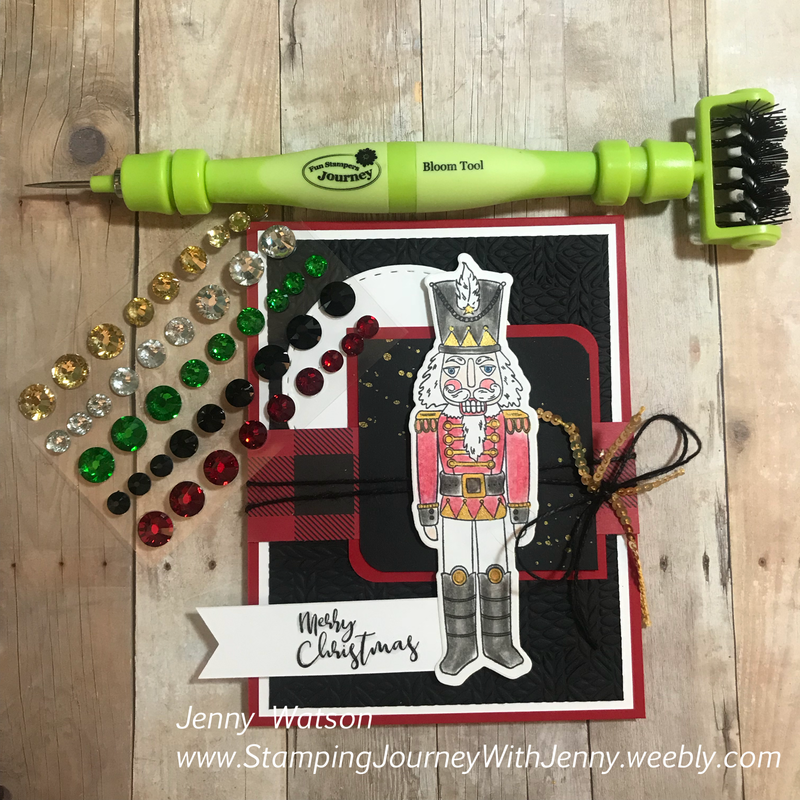
As soon as I saw the Nutcracker Suite set in FSJ's new Holiday Trends Mini Catalog, I knew I had to have it. Growing up, my Mom collected Nutcrackers and they were the focal point of the Christmas Season in our home. To date, there are about 50+ Nutcrackers in her collection! This is the first Christmas card I have created this year and I am sending it to my Mom. 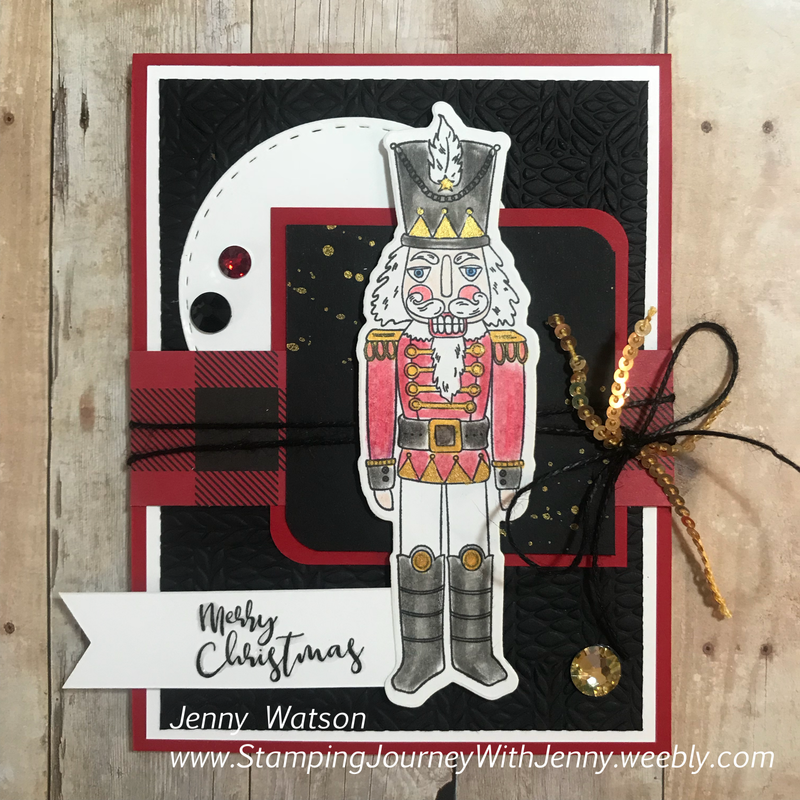 SuppliesSTAMPS & DIES Nutcracker Suite BD-0433, Circle Around DI-0466, Christmas Sprig AT-0293 PAPER Whip Cream CS-0040, Black Licorice CS-0003, Cranberry Bliss CS-0090, Cozy Winter Prints PP-0059 INK/COLORING Black Licorice IP-0041, Journey Color Burst Pencils JM-0077, Color Burst Blenders TO-0123, Odorless Mineral Spirits EMBELLISHMENTS Journey Glaze AD-0003, Black Journey Thread AC-0129, Gold Silk IP-0096, Twinkle Trim AC-0215, Holiday Sparkles AC-0383, Journey Applicator Tips AD-0112 ADHESIVES Easy Glide Permanent Adhesive Runner AD-0081, Foam Squares AD-0084 & AD-0085, Craft Glue AD-0111, White Liner Tape AD-0001 TOOLS Bloom Tool TO-0073, Journey Blooms Paper Trimmer TO-0039, Details Pro Shears TO-0063, Journey Platinum Machine TO-0090, Cozy Knit Embossing Folder EF-0032, Journey Corner Rounder TO-0150, Journey Scoring Board TO-0149, Small Journey Blending Brush TO-0097 Please note: I also used my FSJ Amaze Machine. The newest model is the FSJ Platinum 6 TO-0153 which will arrive the end of this month. I can't wait!! MeasurementsCranberry Bliss Card Stock - card base 4-1/4" x 11" - layered square 2-3/4" x 2-3/4" Whip Cream Card Stock - front panel 4" x 5-1/4" - piece to die cut circle 3" x 3" - piece to stamp and die cut Nutcracker image 2" x 5-1/2" - piece to stamp sentiment 3/4" x 3-1/4" Black Licorice Card Stock - front panel to emboss 3-3/4" x 5" - layered square 2-1/2" x 2-1/2" Cozy Winter Prints Buffalo Check - strip for card front 1-1/4" x 4-1/4" Instructions1. Cut and score your Cranberry Bliss card base using the Journey Blooms Paper Trimmer and Journey Scoring Board.
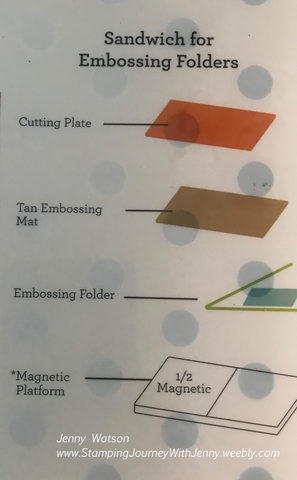
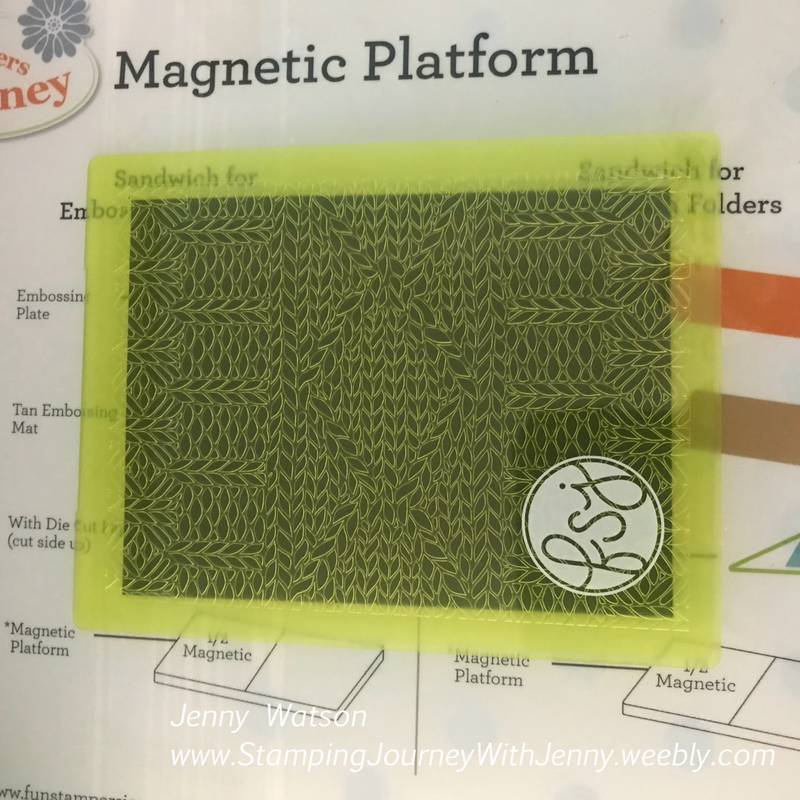
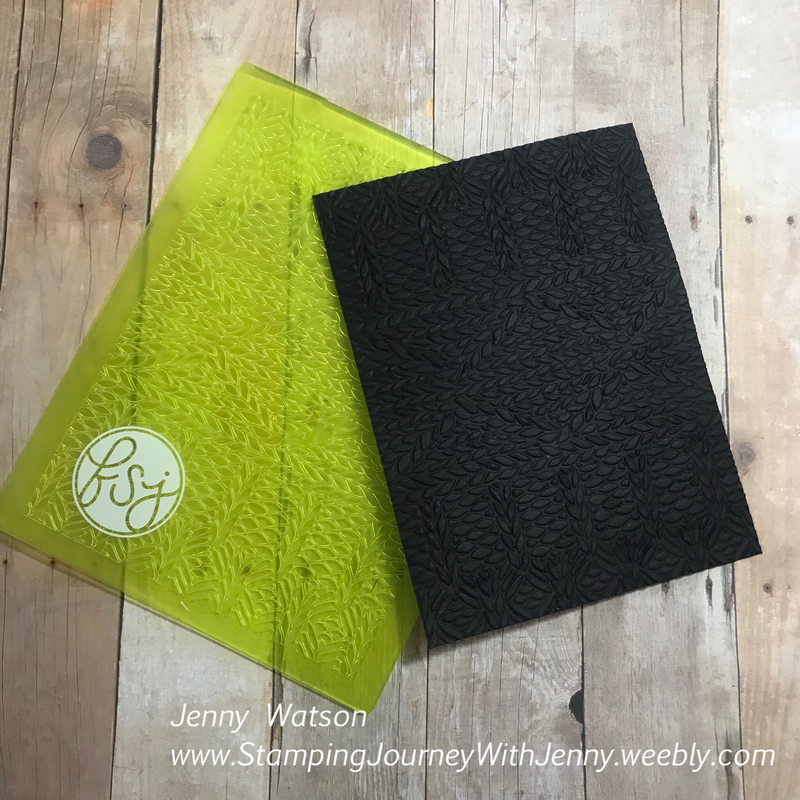
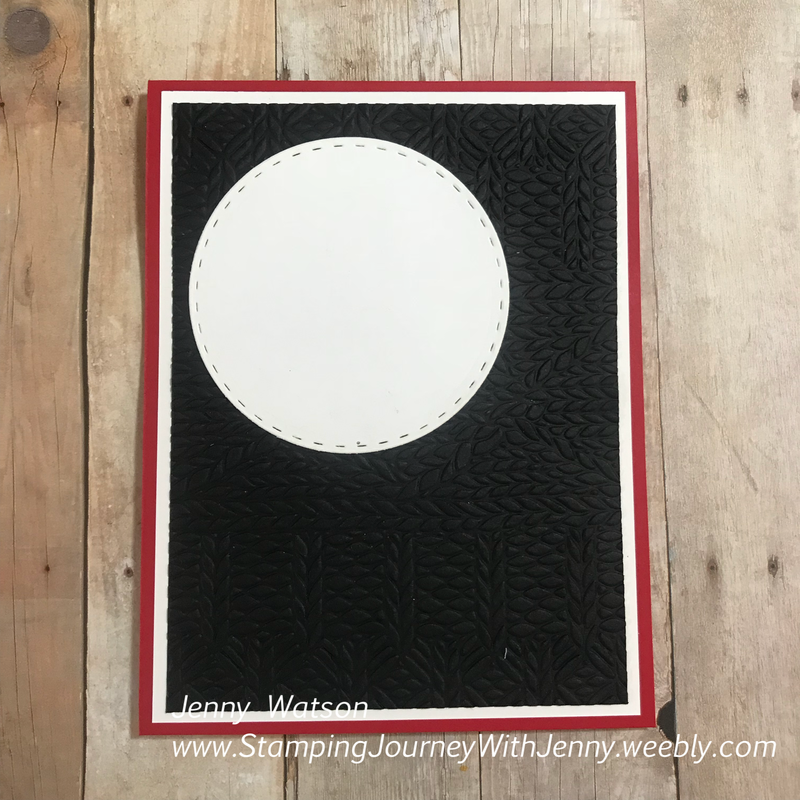
2. Emboss the Black Licorice panel with the Cozy Knit Embossing Folder. The platforms for all FSJ machines feature 'recipes' for cutting metal dies, embossing & cutting metal dies and embossing folders.
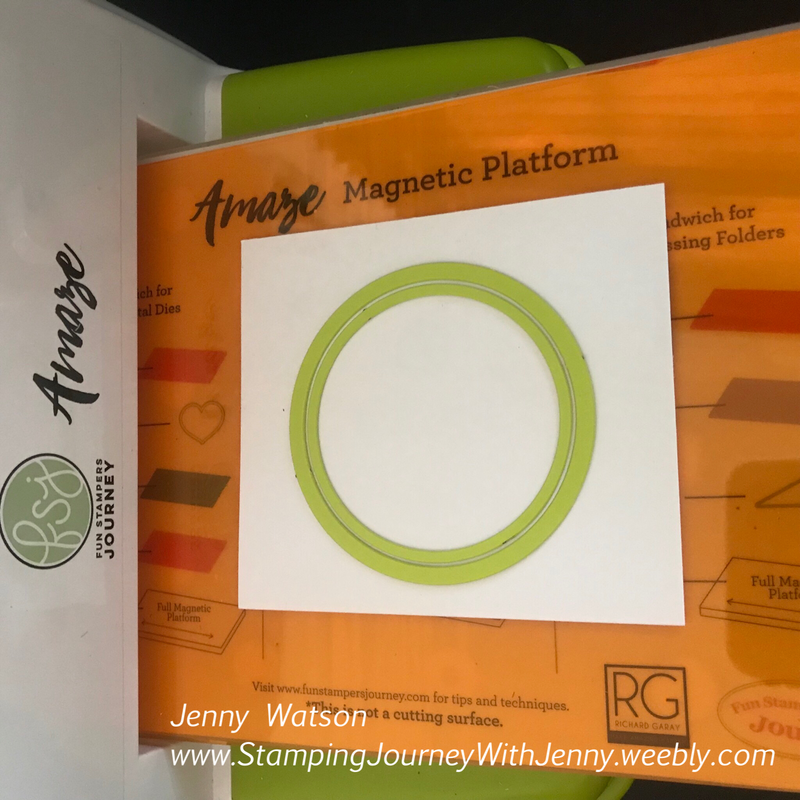
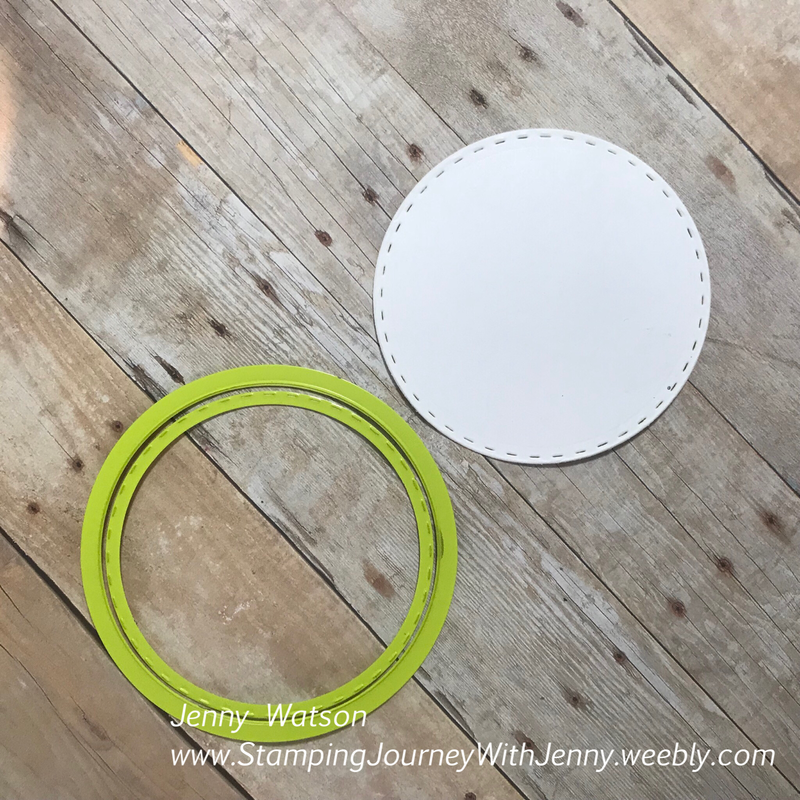
 3. Adhere the Whip Cream and Black Licorice panels to the Cranberry Bliss card base. 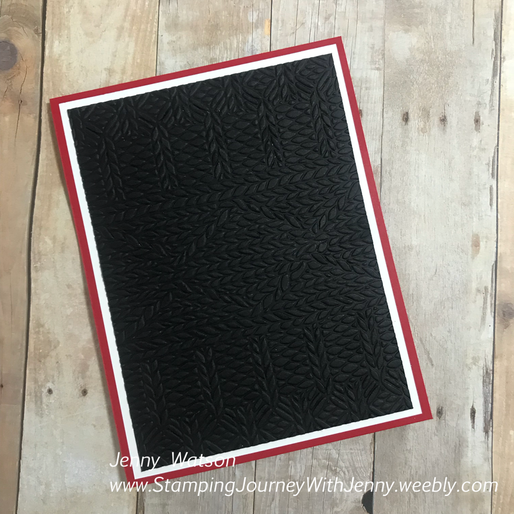 4. On the cutting plate of the Journey Platinum Machine or FSJ Platinum 6 Machine, place the 2-3/4" circle from the Circle Around Die Set on the 3" x 3" Whip Cream Card Stock. The next die in the set will have stitch marks and nestle right into the 2-3/4" circle die. Place it on the platform, inside the circle die, and run them through the machine at the same time.
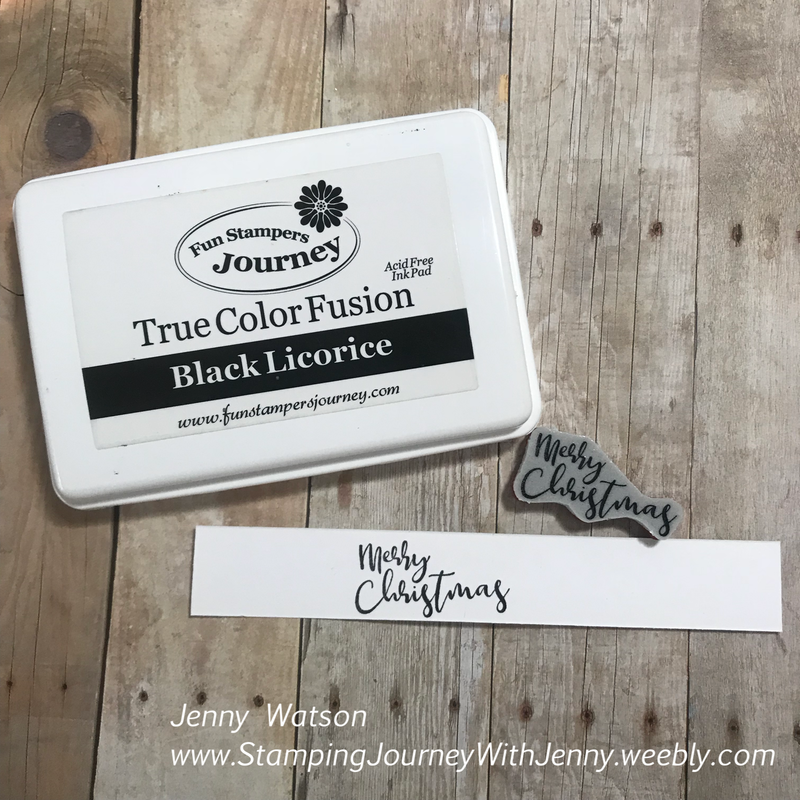
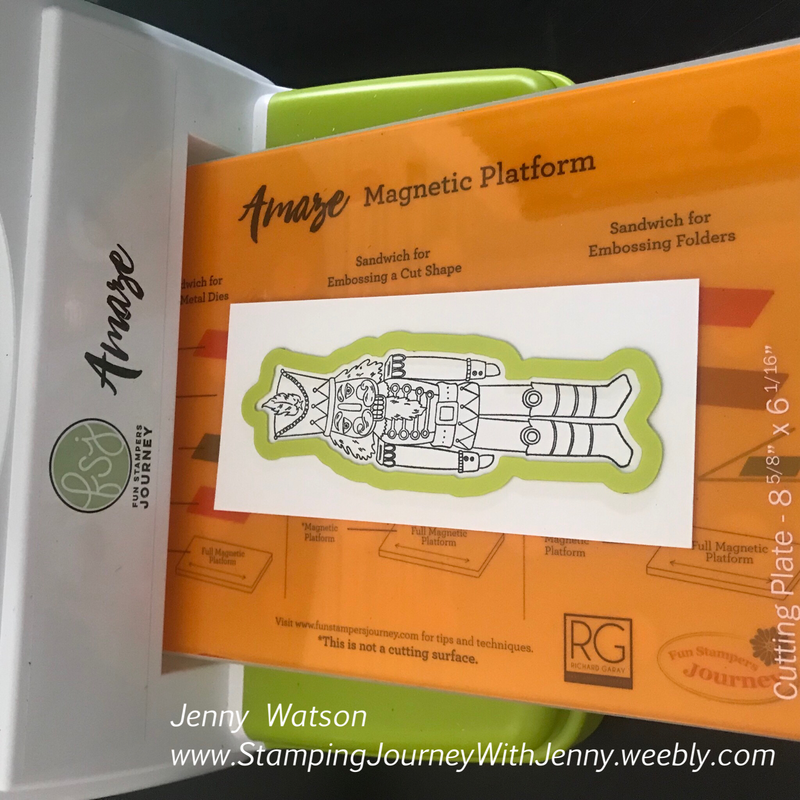
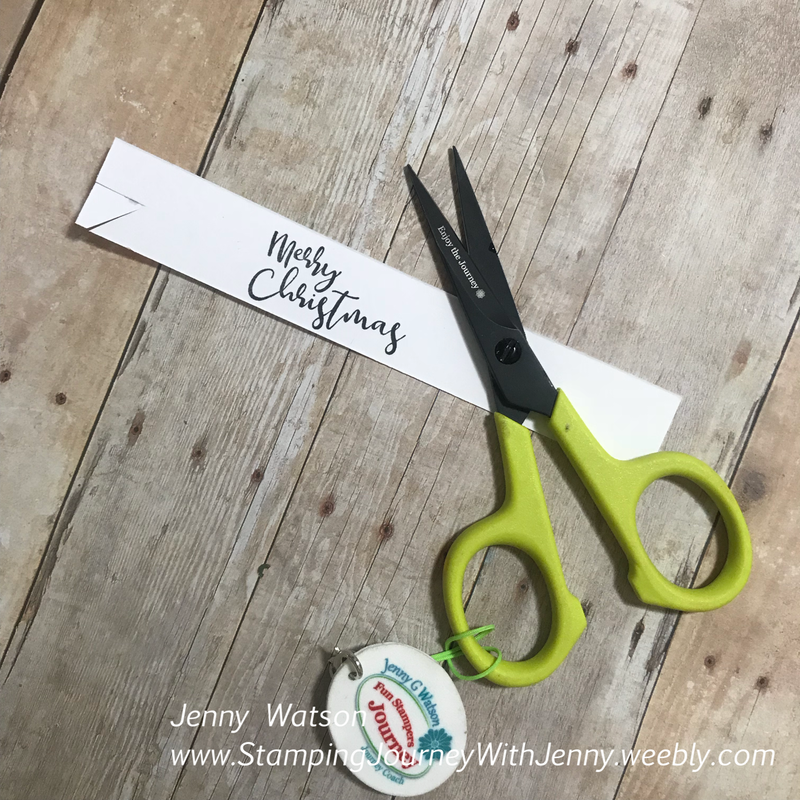
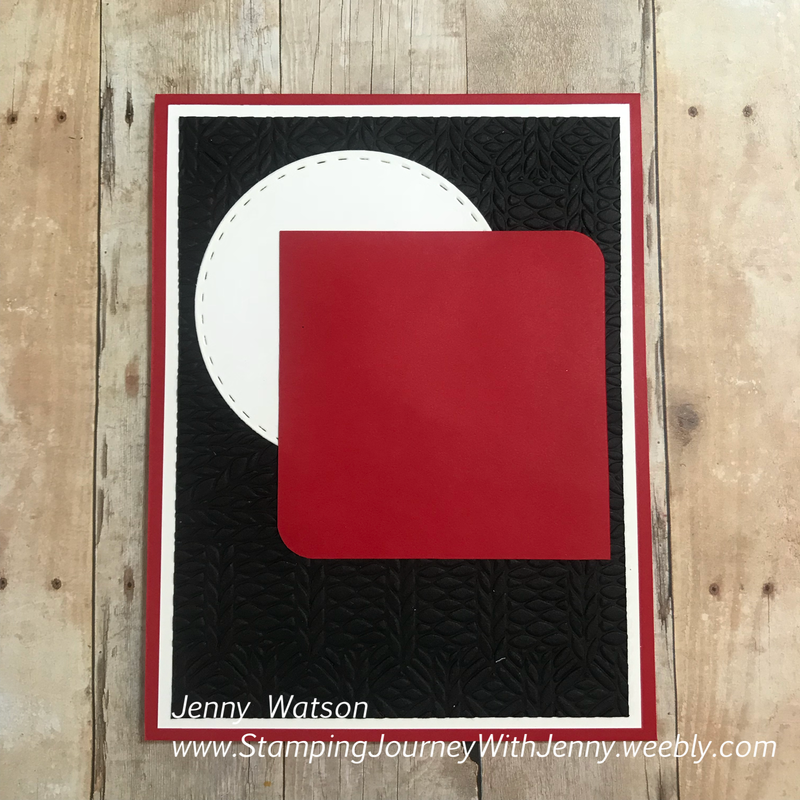
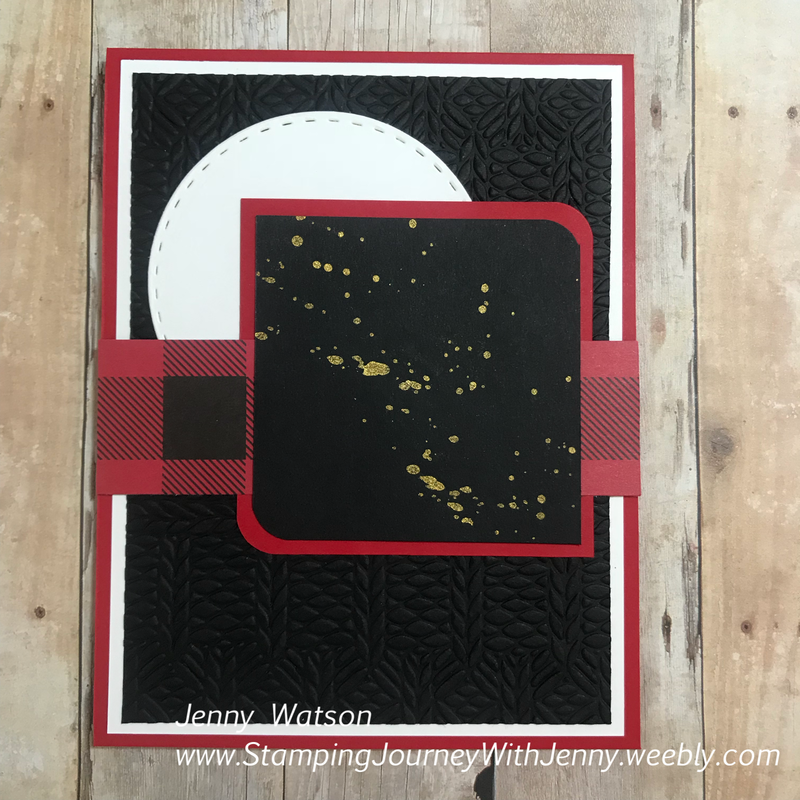
5. Using the Journey Corner Rounder, round the corners of the top left and bottom right corners on the Black Licorice and Cranberry Bliss squares. Flick Gold Silk on the Black Licorice square and set aside to dry. 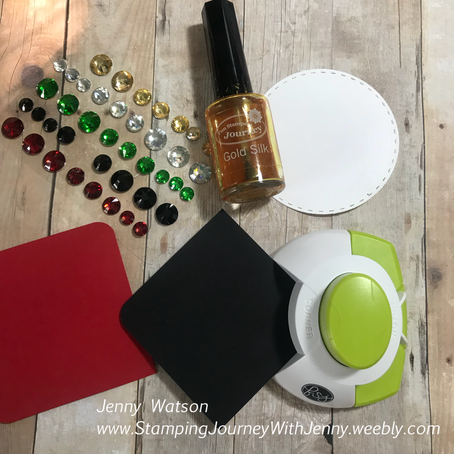 6. Using Black Licorice Ink on Whip Cream Card Stock, stamp the 'Merry Christmas' sentiment from the Christmas Sprig ATS and the Nutcracker from Nutcracker Suite stamp set. Die cut the Nutcracker image. To create the banner on your sentiment piece, make a small cut using Details Pro Shears in the center of the left end. Snip at an angle from each side to meet the end of the small cut.
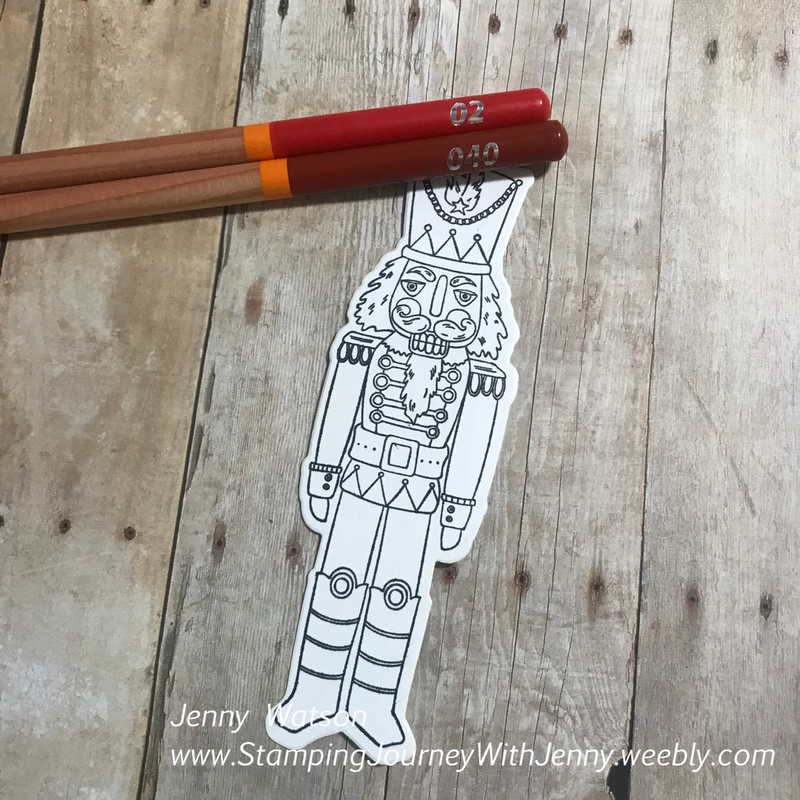
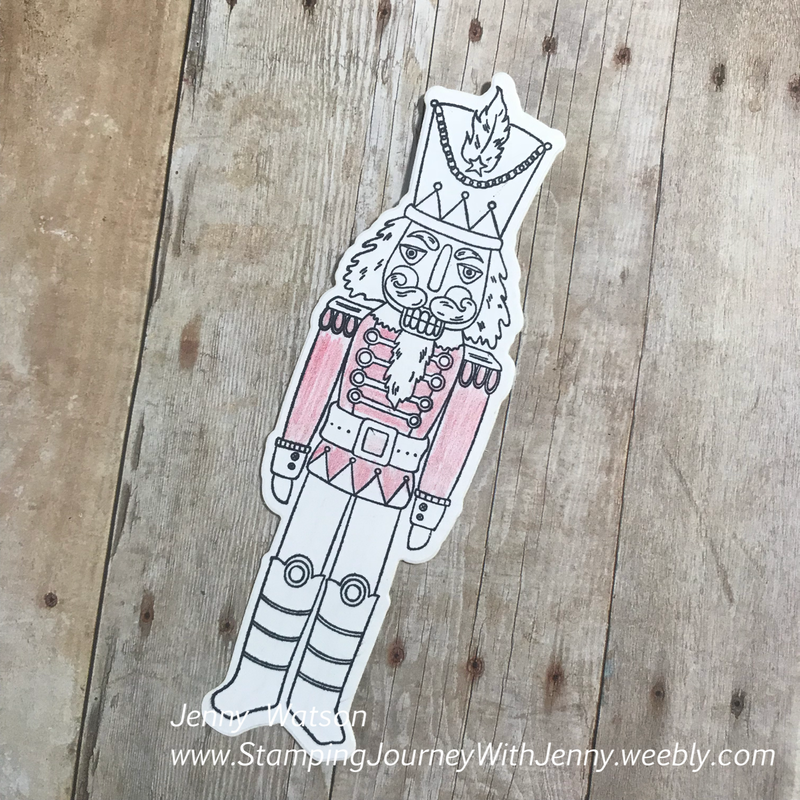
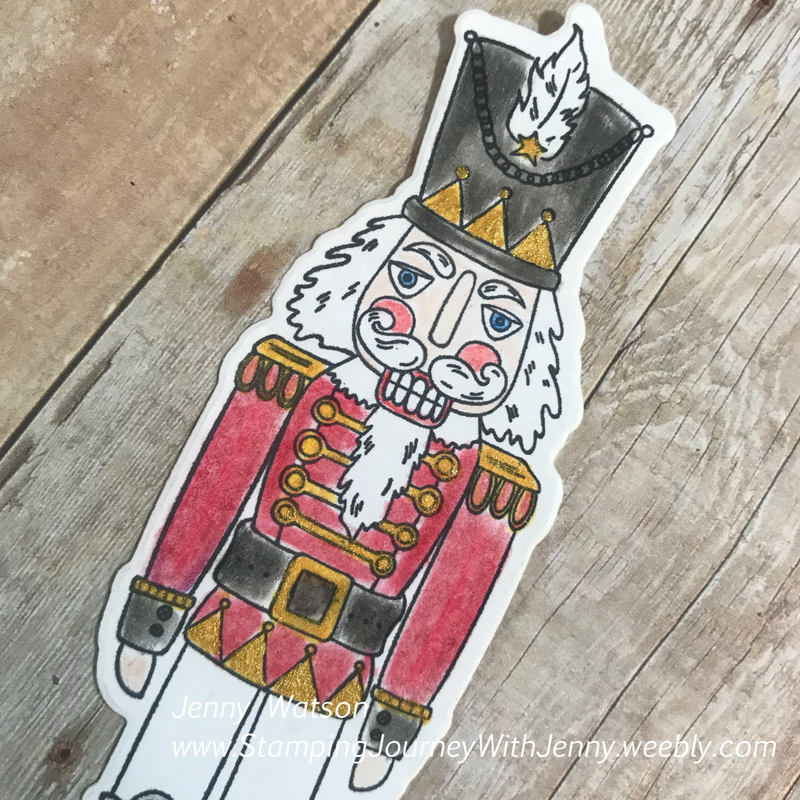
7. Color the Nutcracker image using Journey Color Burst Pencils. The inside of the tin shows the 'recipes' for the colors. I colored the jacket using pencils 02 and 040 for Cranberry Bliss. 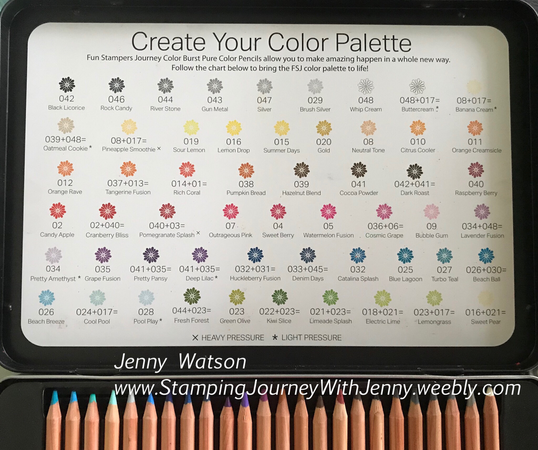
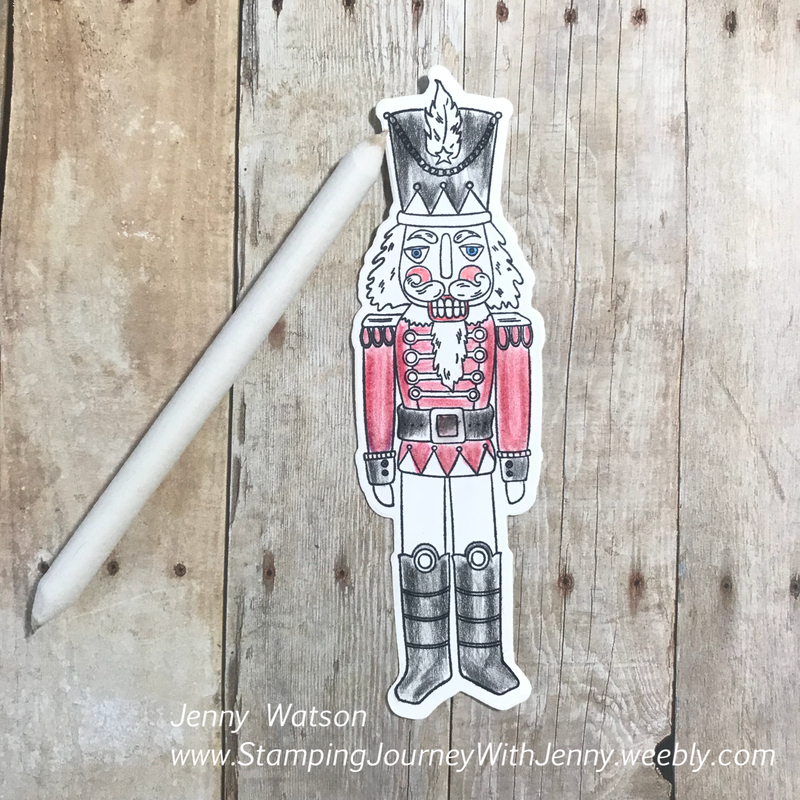
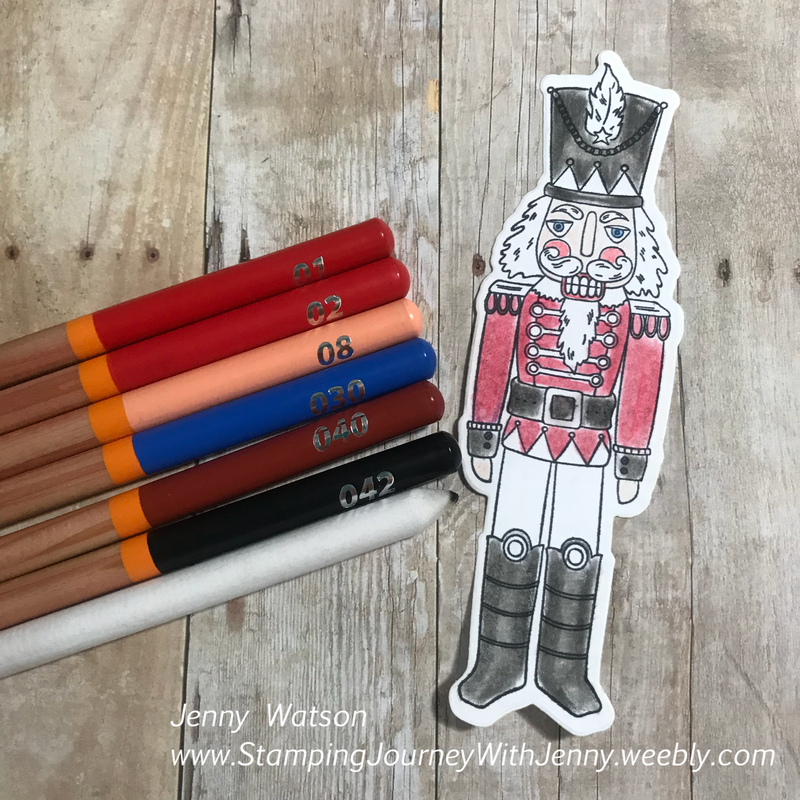
8. Continue coloring the image (I used pencils 01, 02, 08, 030, 040, 042) - begin with a light layer of color and slowly build the color, making it darker where there should be shading. Once the image is colored, blend out any pencil lines using Color Burst Blenders and odorless mineral spirits (baby oil also works).
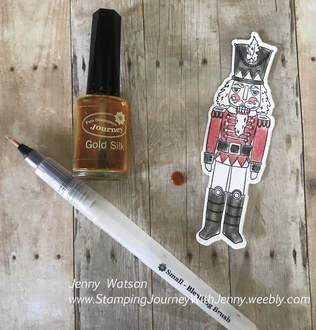
9. Add a small puddle of Gold Silk onto a clear block or workable sheet. Using the Small Journey Blending Brush, paint Gold Silk onto the image - wait for the first layer to dry and apply a second layer.
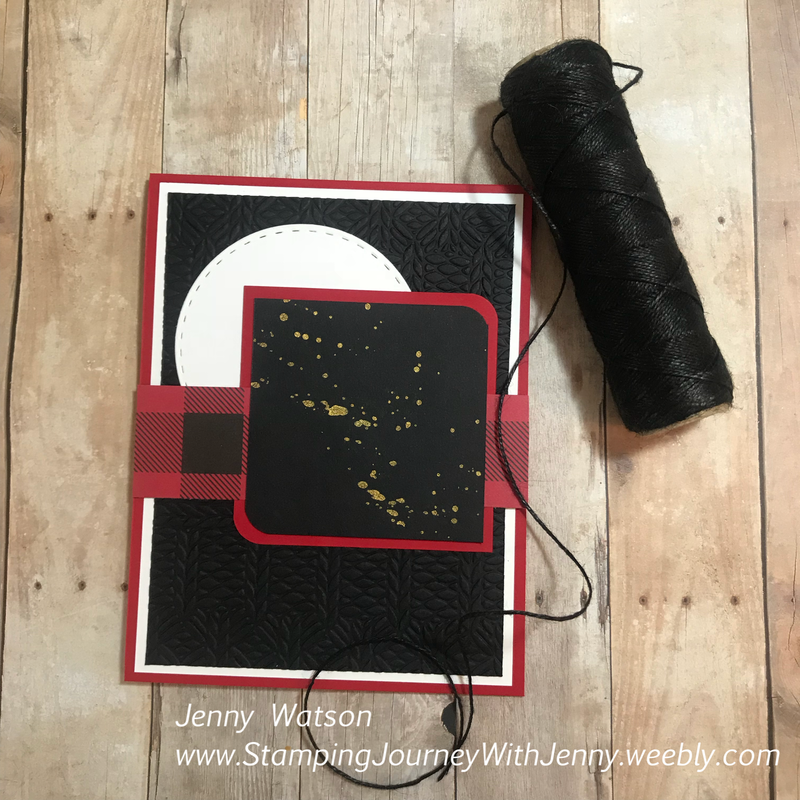
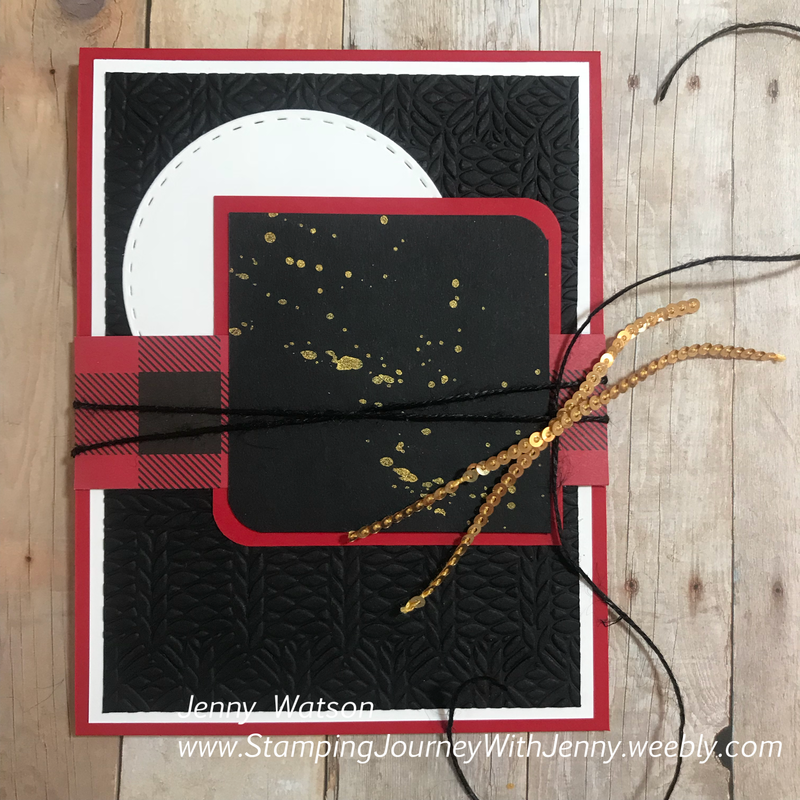
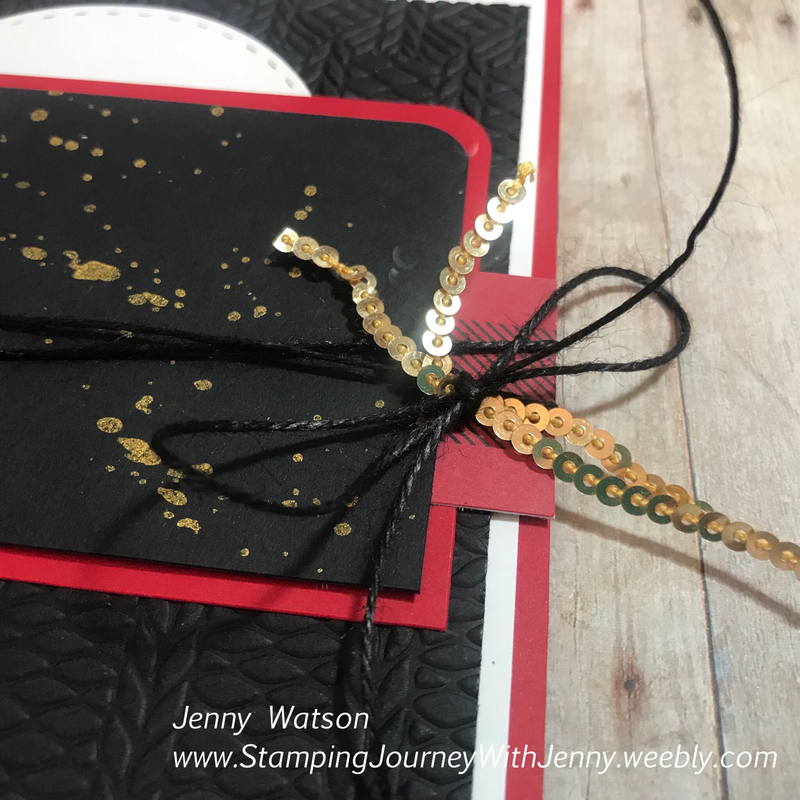
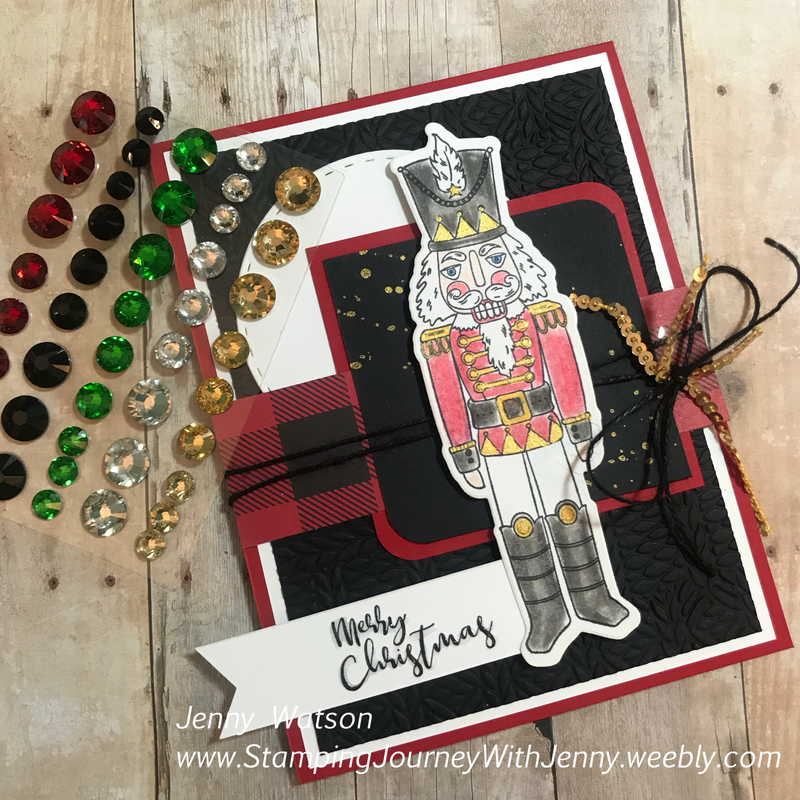
10. Begin adding the layers to the card - Whip Cream die cut circle, Cranberry Bliss Square, Cozy Winter Prints strip, Black Licorice Square. Wrap Black Journey Thread around the front of the card twice and tie a knot on the right side. Lay two pieces of gold Twinkle Trim over the knot and tie a bow over them with the Black Journey Thread.
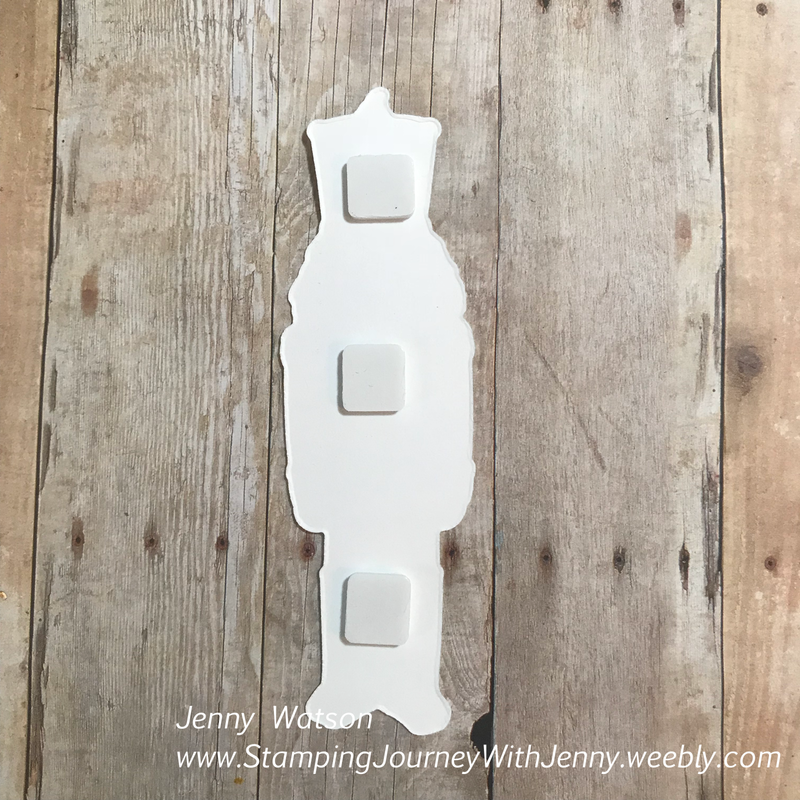
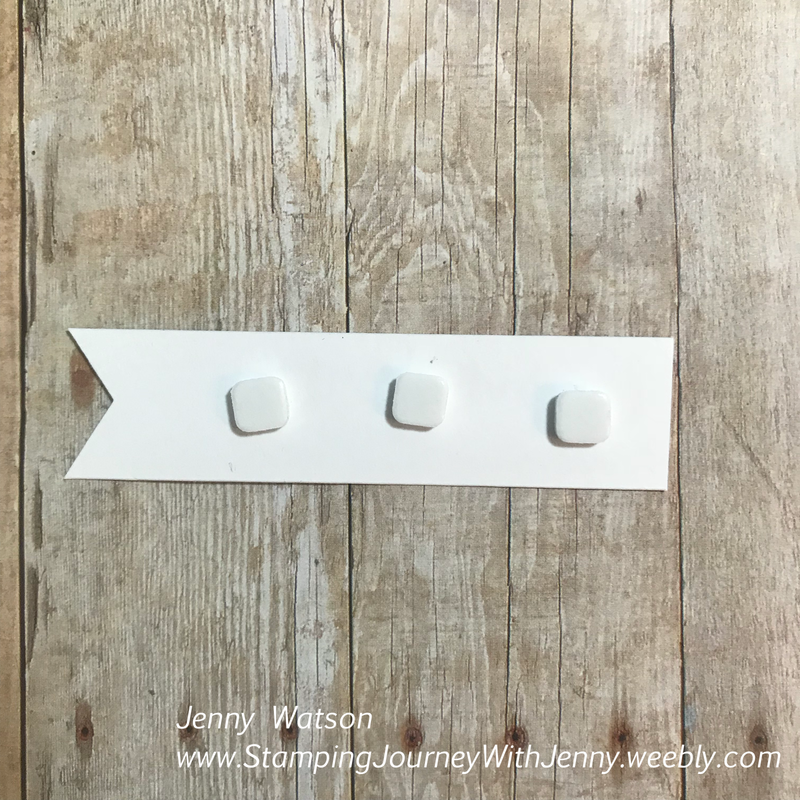
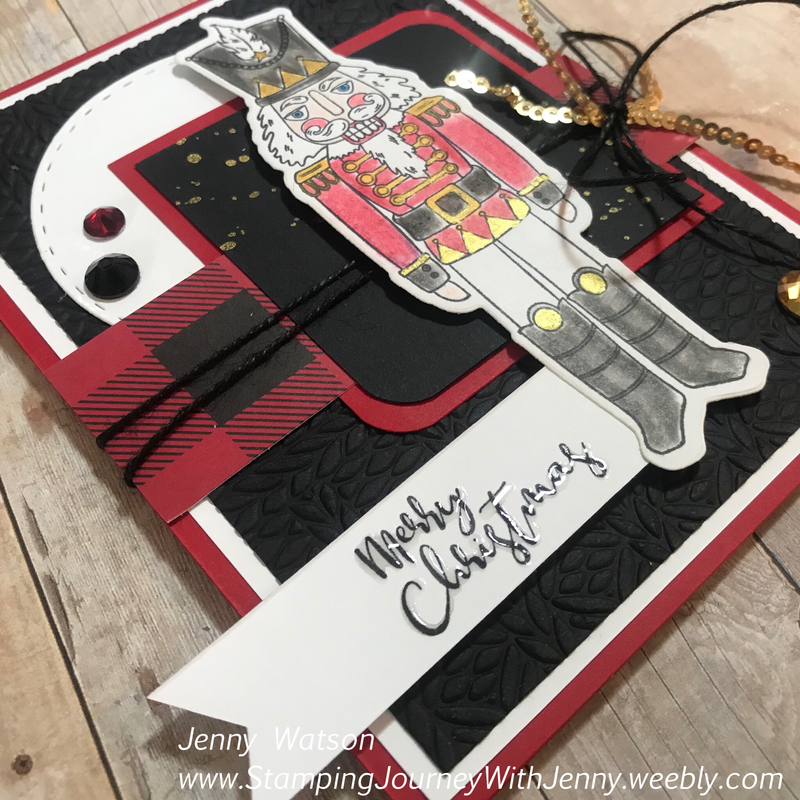
11. Add Journey Foam Squares to the Nutcracker and sentiment banner. Adhere to the card front, tucking the sentiment banner under the Nutcracker, trimming the right banner end if necessary.
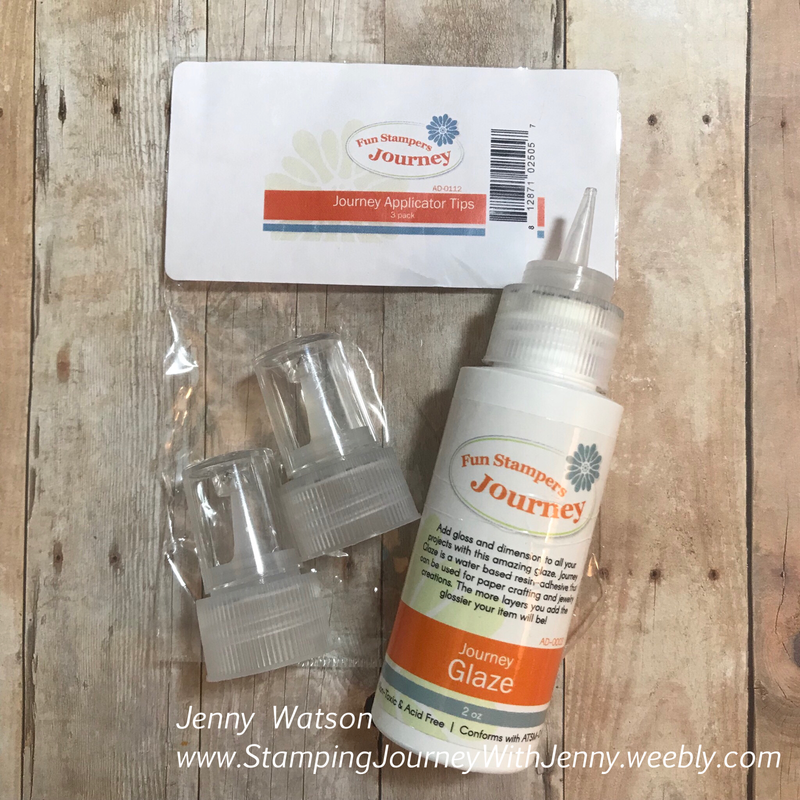
12. Time to embellish! Use the piercing attachment on the Journey Bloom Tool to pick up the Holiday Sparkles** and apply them to the card. Pro Tip: Swap the top of the Journey Glaze with a new tip so it will be easier to trace the 'Merry Christmas' sentiment on the banner with the Journey Glaze. **The Holiday Sparkles are the most gorgeous bling I have ever crafted with in my life. Buy them by the dozen. Seriously.
I hope you enjoyed my step-by-step tutorial. If you have any questions please ask. I would love to see your CASE'd Nutcracker Christmas Card so please tag me. Live a creative life, Jenny 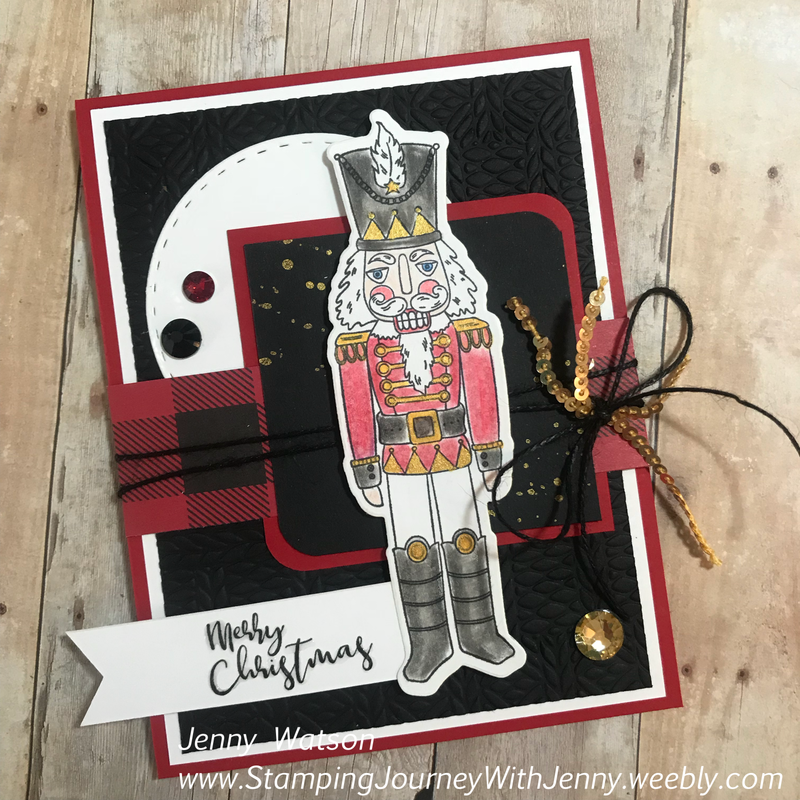
2 Comments
Mary
8/21/2018 08:07:52 pm
Lovely card and well done! Will you be posting a “follow by email” button?
Mary, thanks for asking. My blog utilizes an RSS feed. If you aren’t familiar with it you can read about it here: https://en.m.wikipedia.org/wiki/RSS Leave a Reply. |

Jenny Watson, FSJ Coach 233I have been stamping for 15 years and am thrilled to be one of the first Fun Stampers Journey Coaches in Ohio. I am currently one of eight members on the FSJ Creative Team for 2018-2019. It was my honor to serve on the 2016-2017 Leadership Team for Fun Stampers Journey. 

Archives
October 2018
|


 RSS Feed
